How to Create a 2-Step Opt-In Using Layers
Video Tutorial:
Article:
This article describes how to create a 2-step opt-in where the user needs to click a button to reveal the form, but there is only one submission. To create a 2-Step opt-in with multiple submissions, so data is captured at every stage, see:
Full Walkthrough: Setting Up A 2-Step Opt-In
A 2-step opt-in is a method of collecting sign-ups where, instead of putting your sign up form in plain sight on your page, the user clicks a button to reveal the form (usually in a pop-up). Adding an extra step to the opt-in gets prospects to complete a small action before prompting them to ‘complete’ it: the logic is that people are more likely to round off one unfinished task than complete two whole ones.
You can create a 2-step opt-in using a pre-built template, or you can create one from scratch.
To create a 2-step opt-in from a template:
-
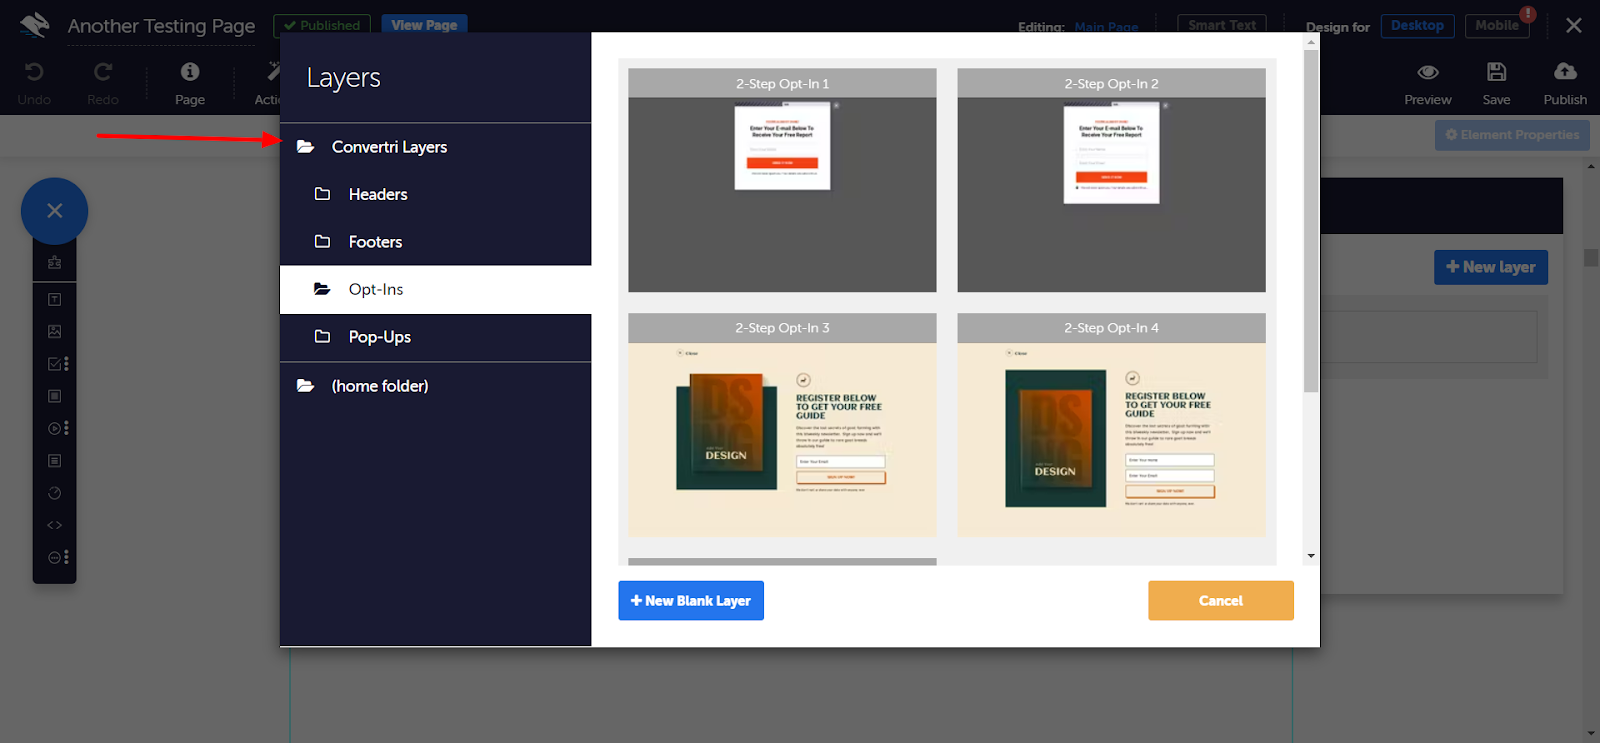
In the Page Builder, click on the Layers button in the top toolbar. On the left-hand side of the Layers dialogue, click on Convertri Layer.
-
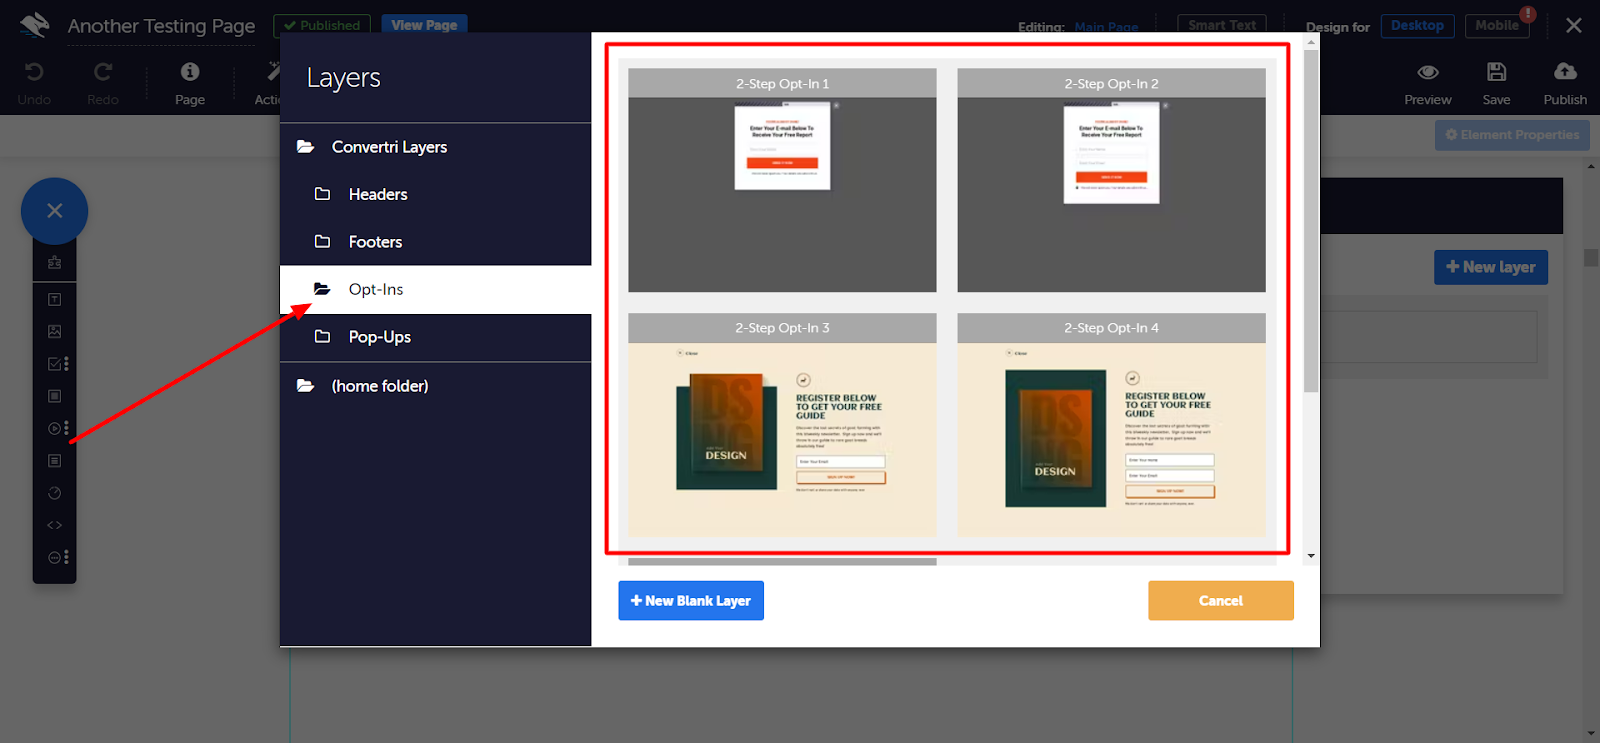
Click Opt-ins, and choose your opt-in template. Select if you want the layer to start out visible, and if it's visible on mobile.
- Click Add. Enter a name for your opt-in layer, then click OK.
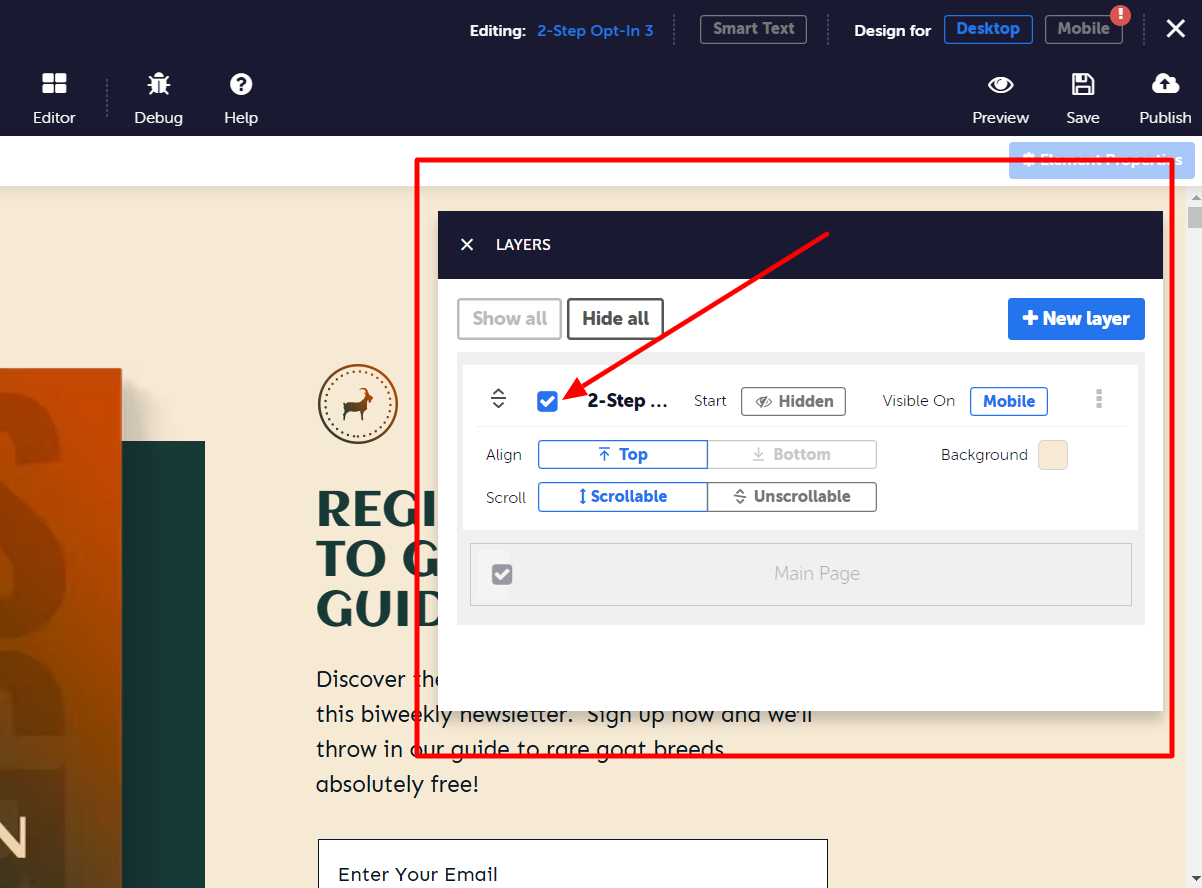
- To edit your opt-in, click to select it in the Layers dialogue on the right-hand side of the editor screen

To create a 2-step opt-in from scratch:
-
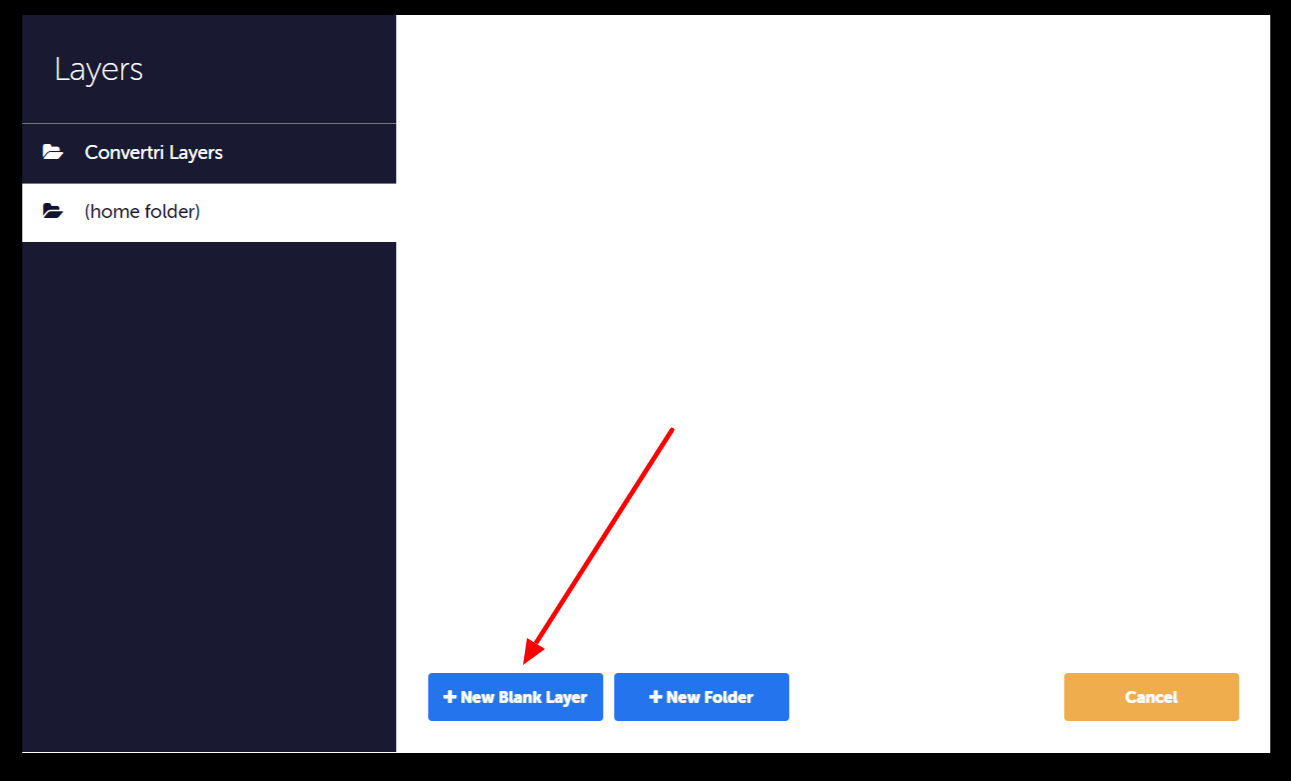
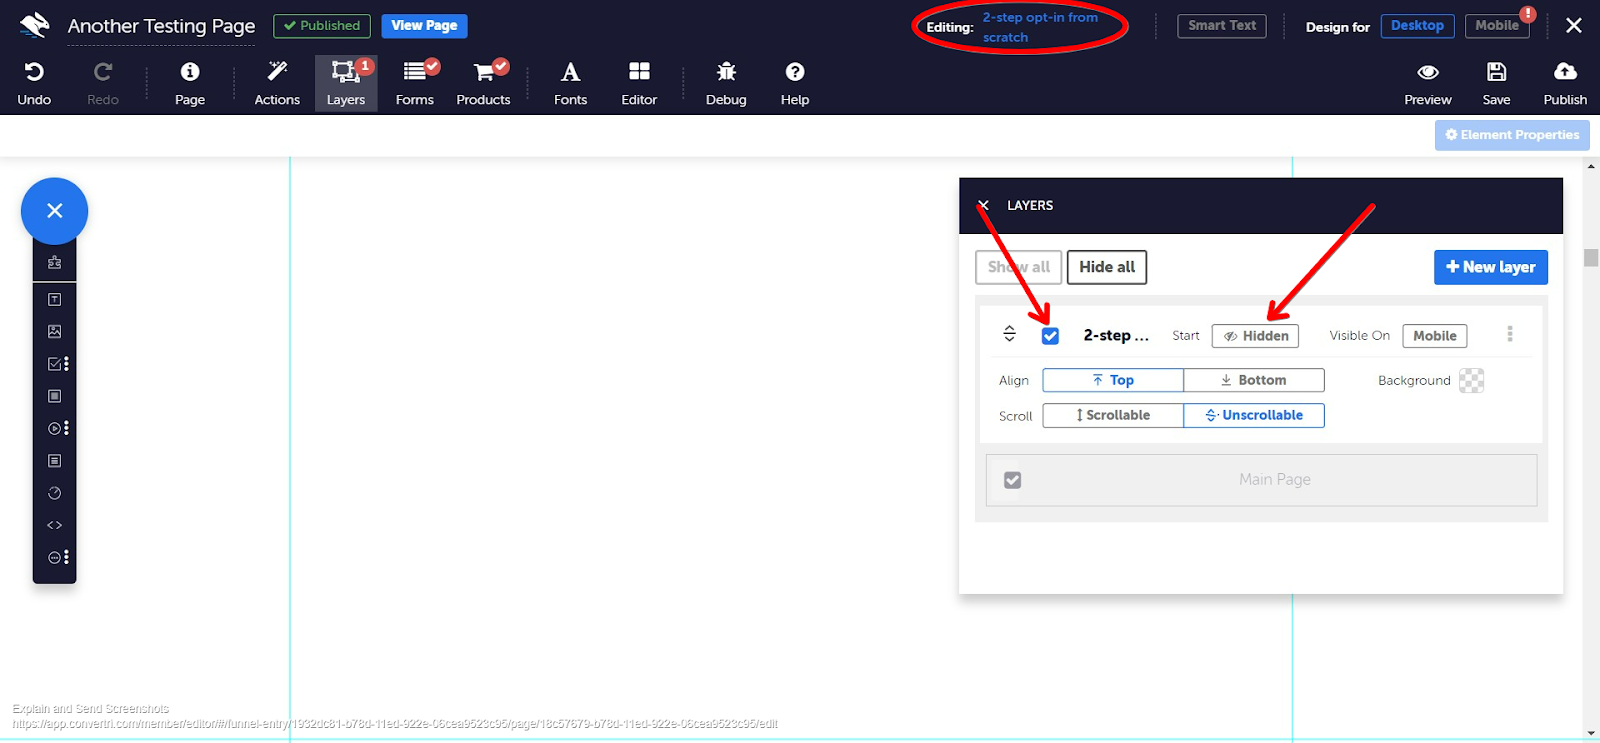
In the Page Builder, click Layers, then New Layer. Enter a name for your layer and click OK.
-
Toggle Start Hidden to make the layer hidden on page load. Then, click the Select checkbox to edit the layer.
-
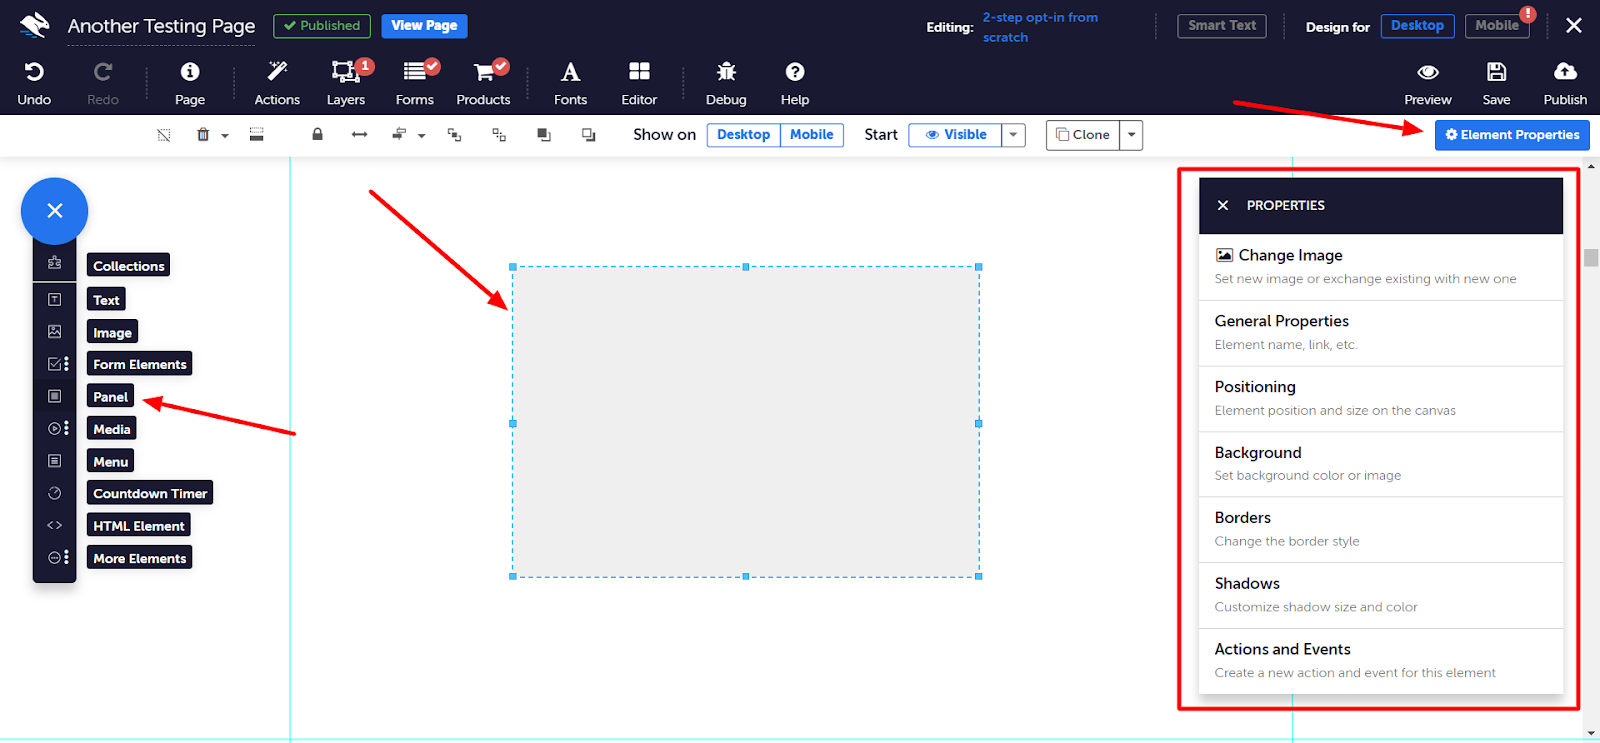
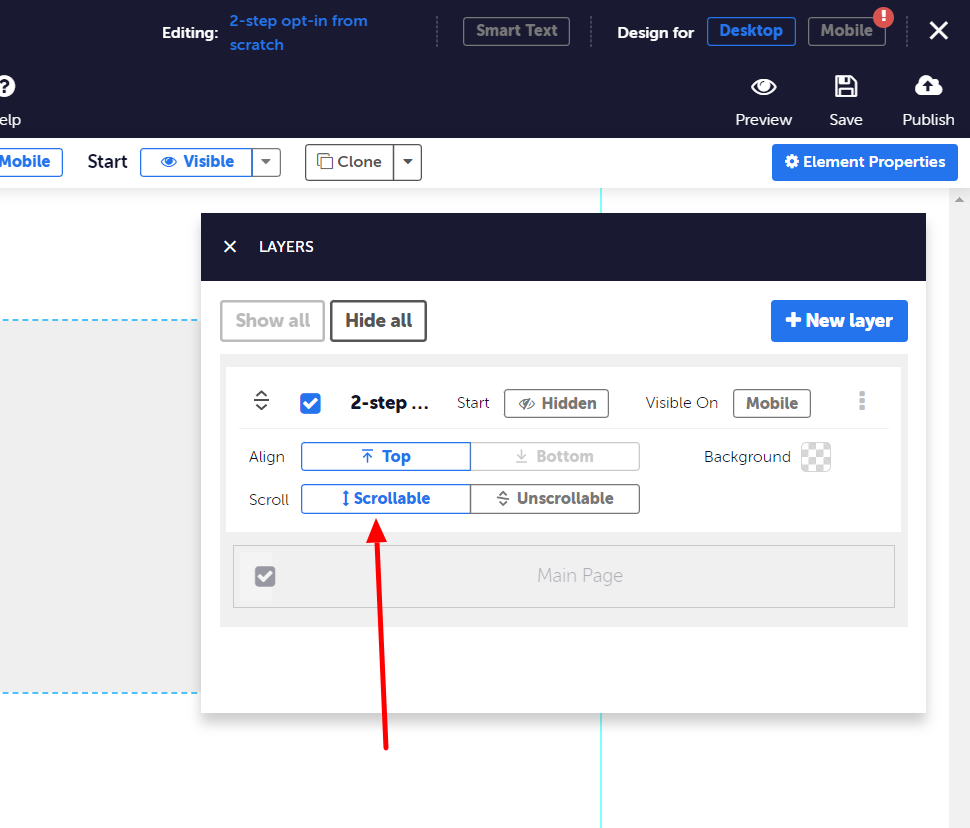
Click or drag a panel element onto your page. This will be the background to your layer. You can resize it using the handles and change its colour and transparency in its Properties panel. (If you want your layer very long, toggle Scrollable to On in the Layers panel to enable users to scroll down the pop up when it’s in view.)
-
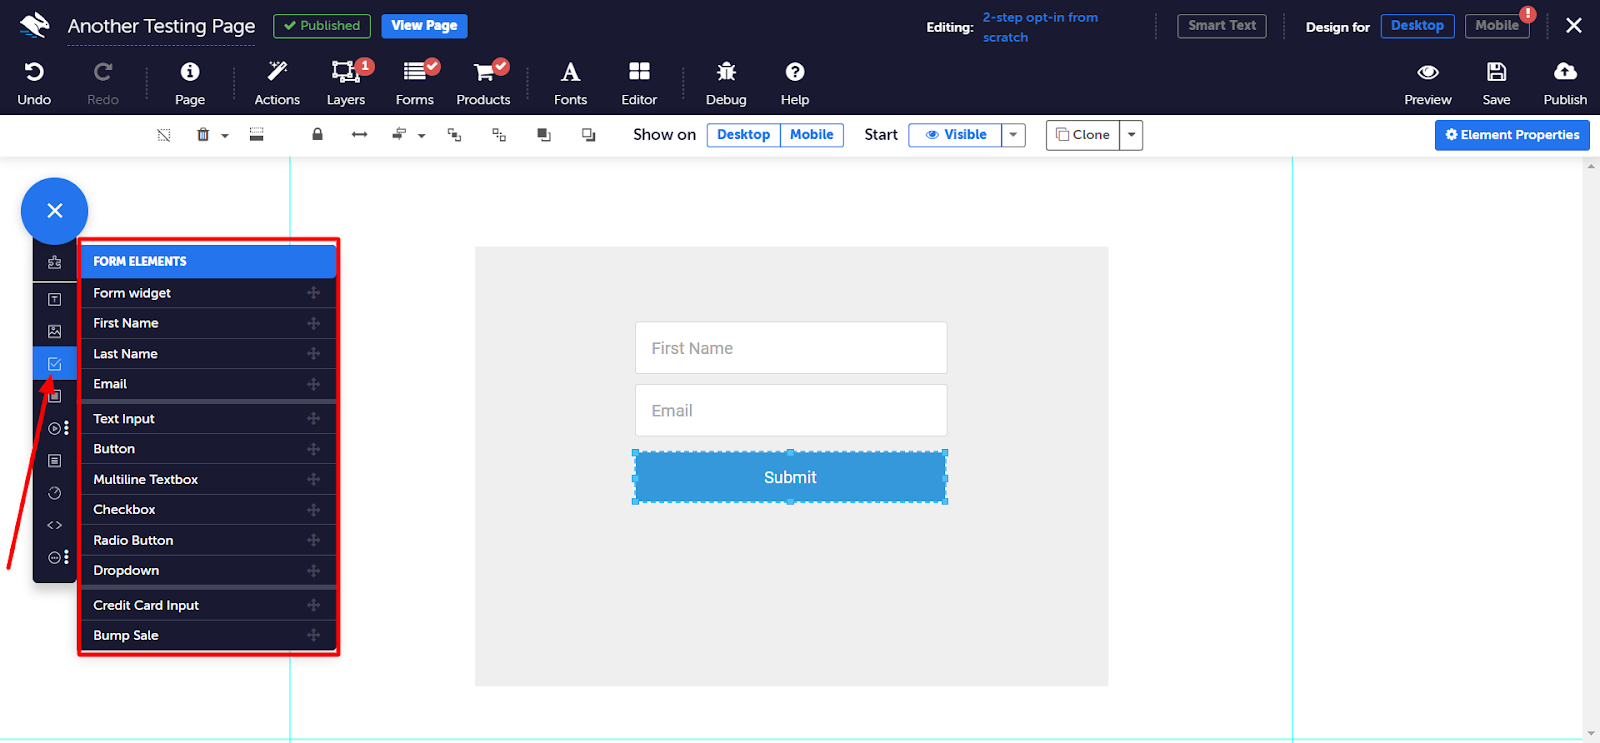
Drag any form inputs, images or text elements you need onto your layer, making sure they're contained within the panel.
-
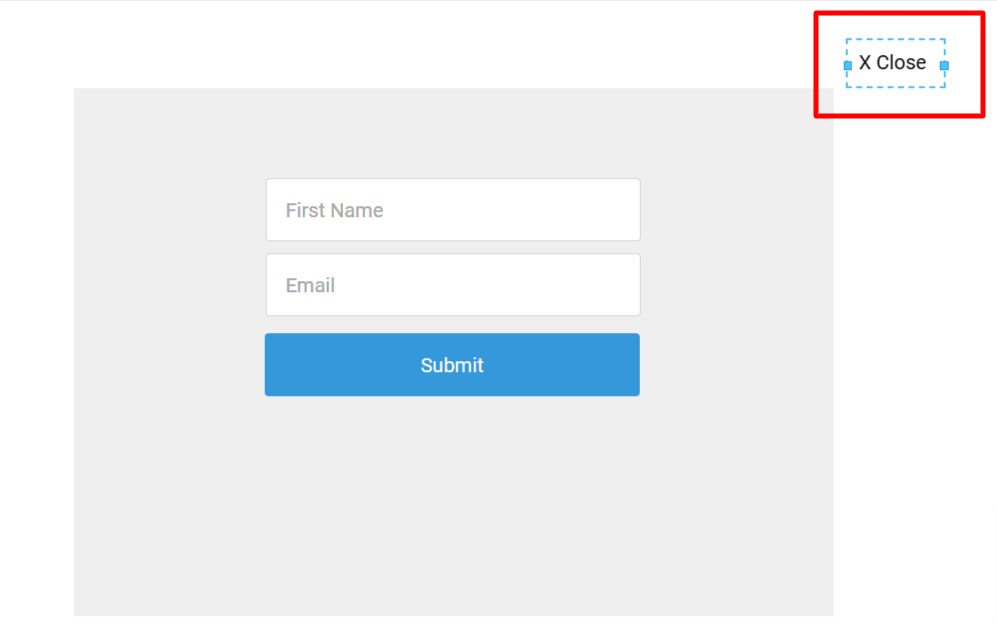
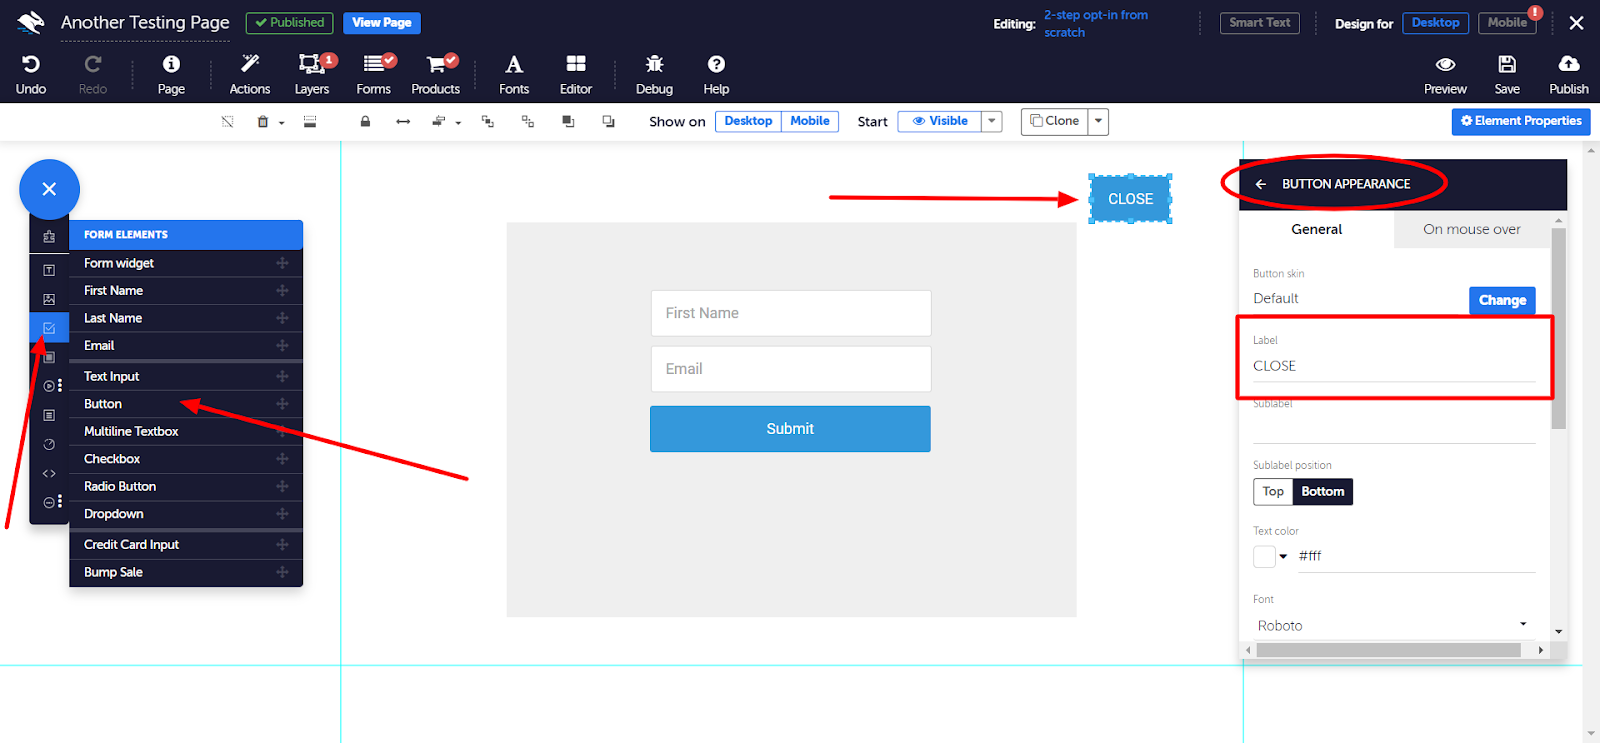
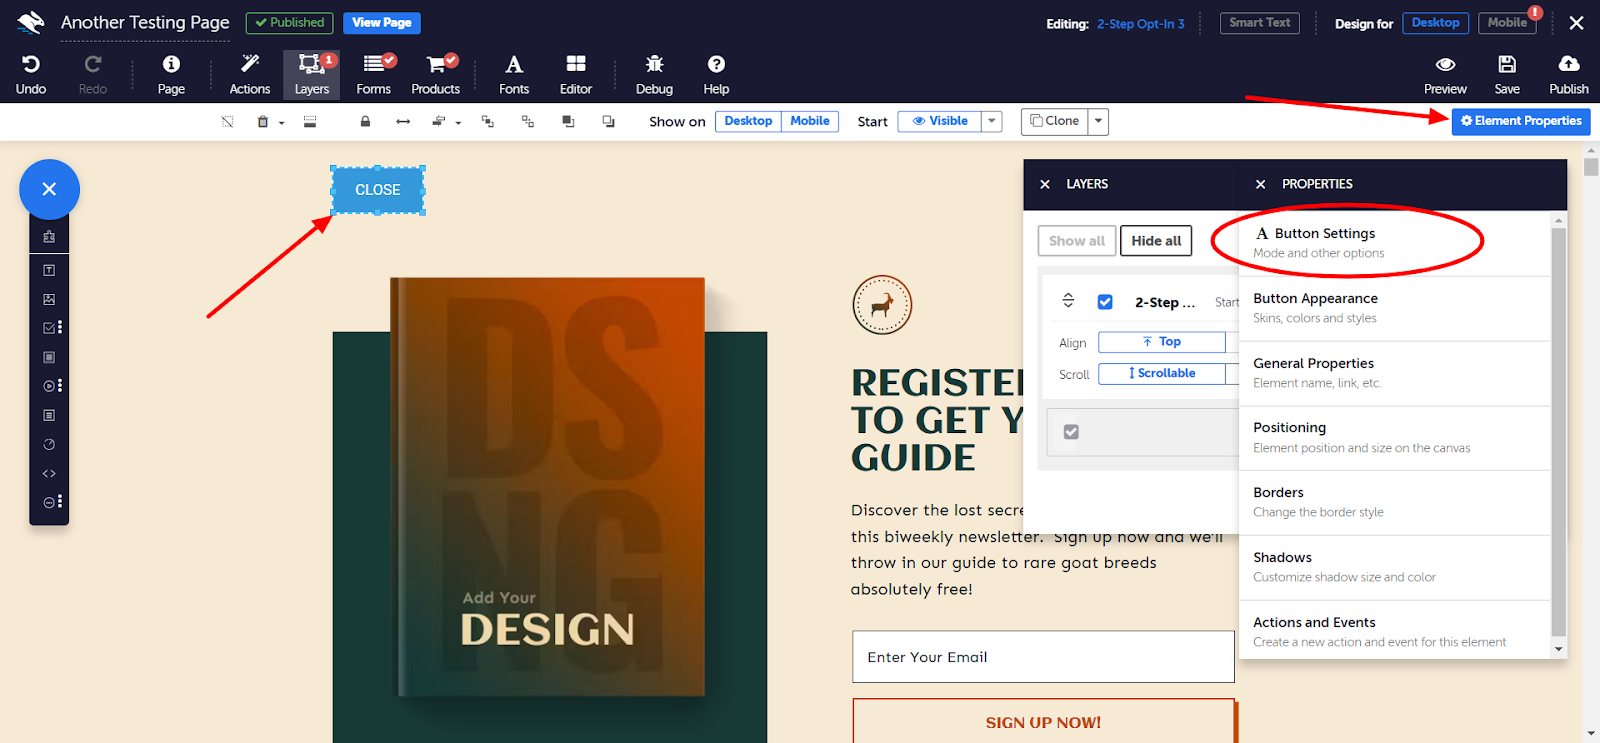
Next, click or drag a text element or Submit button form input element onto your page. Click inside the text element, and type ‘Close’. Or, if you have a button, click to select it, go to Element Properties > Button Settings and change the button label to ‘Close’. Position it in the top right hand corner of your panel, making sure it’s contained within the panel.
-
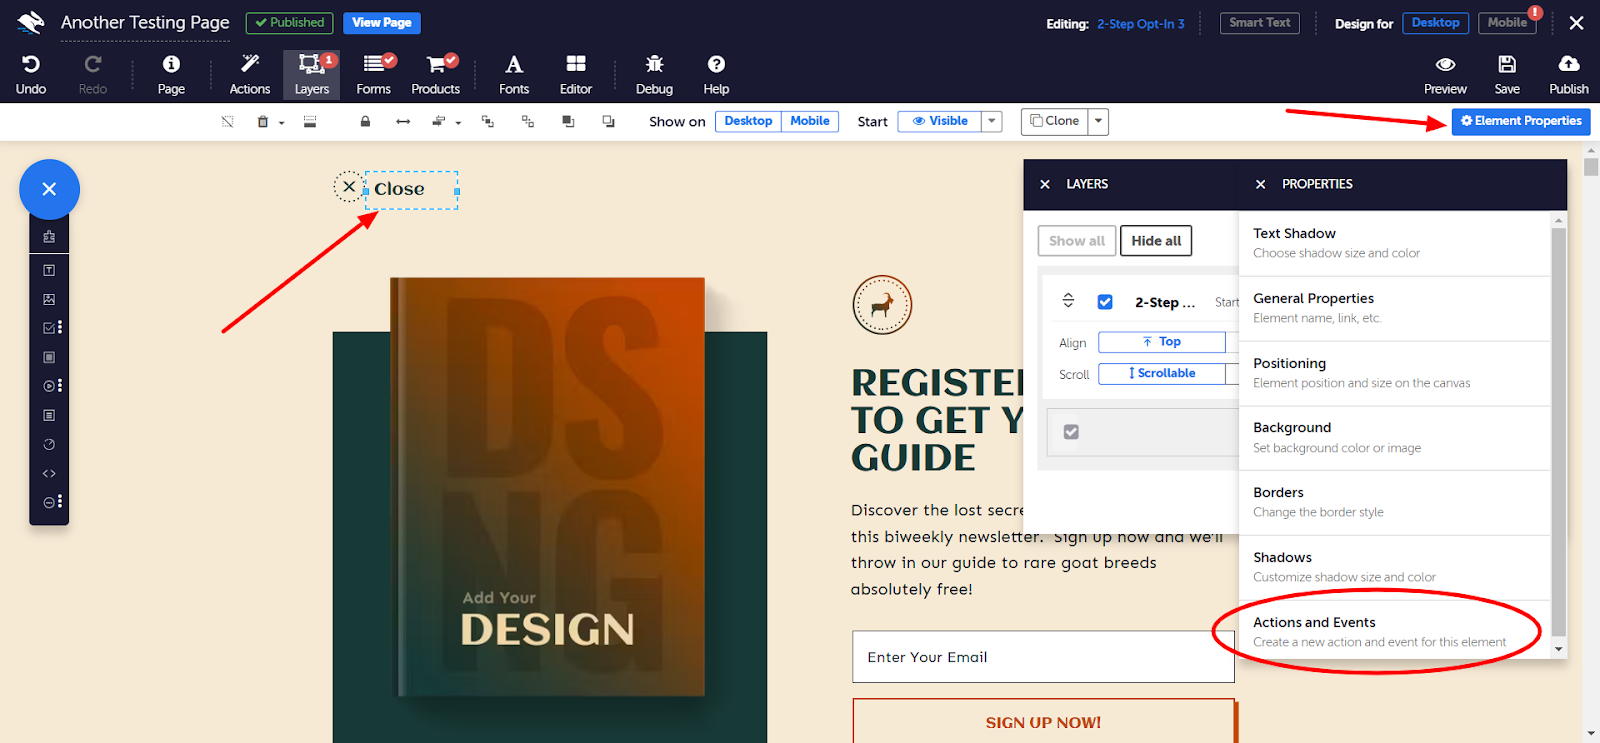
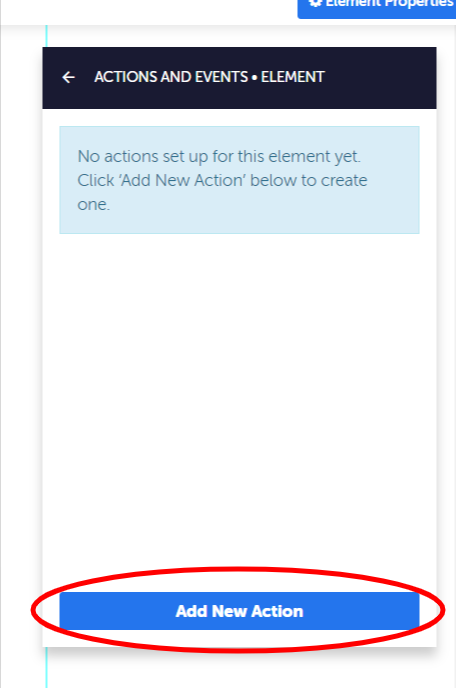
If your close trigger is a Text/Image/Icon element, select the element then go to Element Properties > Actions and Events. Click Add New Action, and configure the action as follows:
Event Type > On Click
Action > Fade Out
Target > (the name of your layer) and switch on Include Contained Elements.
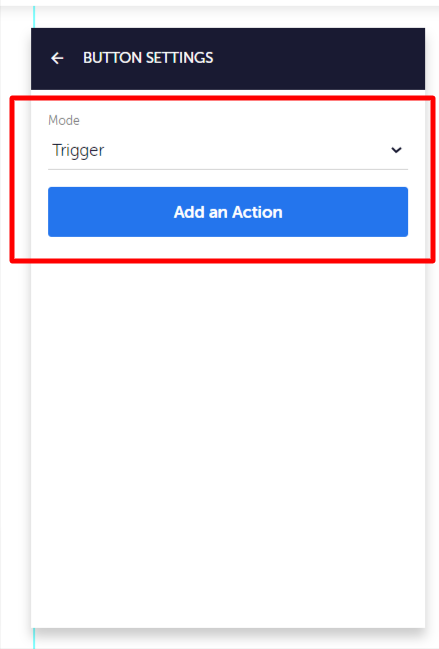
If not and your trigger is a Button Element, then go to Element Properties > A Button Setting to ‘Trigger’ Click Add New Action, and configure the action as follows:
Event Type > On Click
Action > Hide>Fade Out
Target > (the name of your layer) and switch on Include Contained Elements.
Next, whichever method you've used to create your layer, you need to create the Submit button that will call up your opt-in layer.
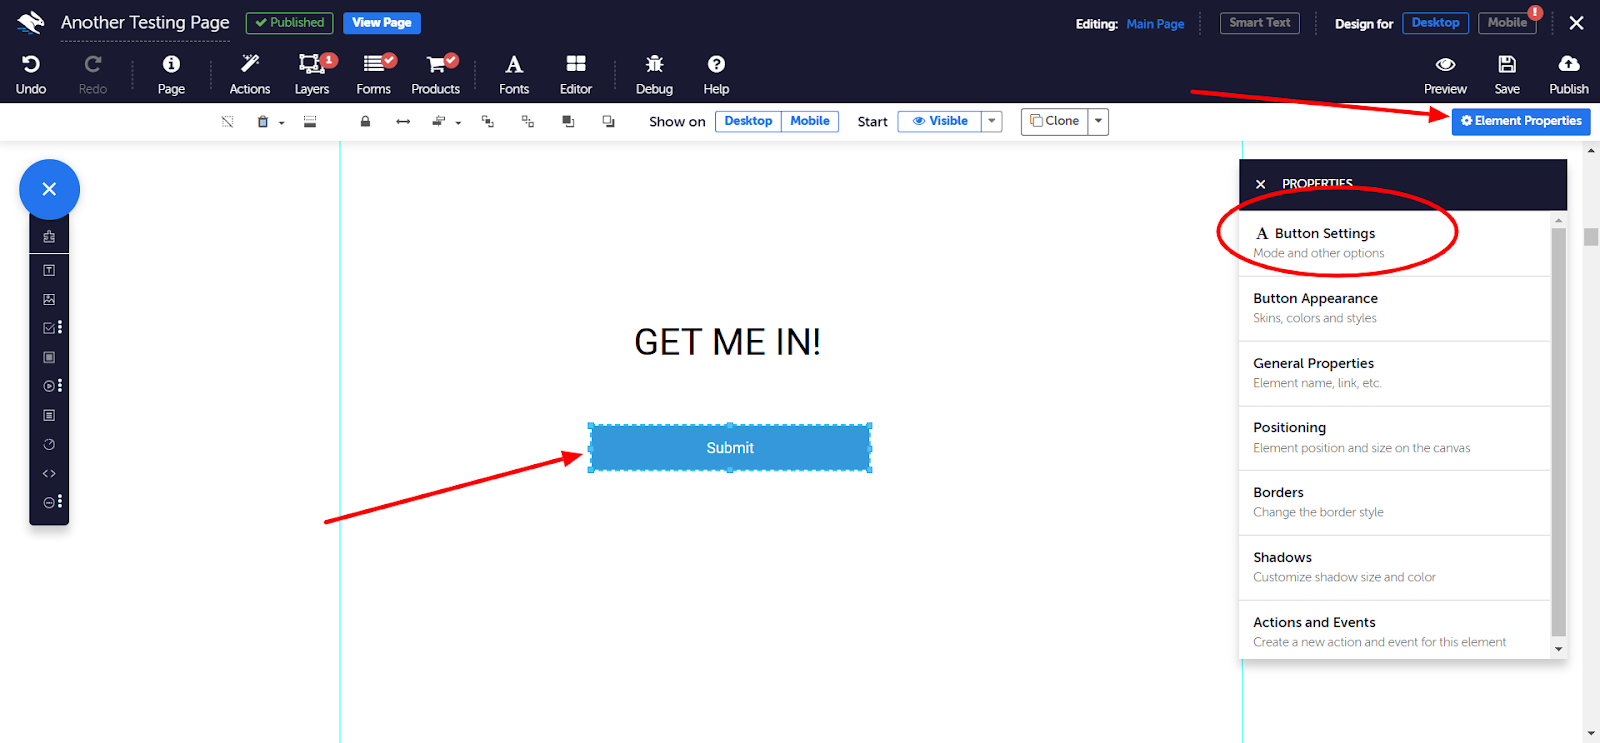
- In the Page Builder, click on Form Elements in the Elements tray and drag a Submit button onto your page.
- Go to Element Properties > Button Settings and change the button label to a call to action, or CTA (e.g. ‘sign up now’).
-
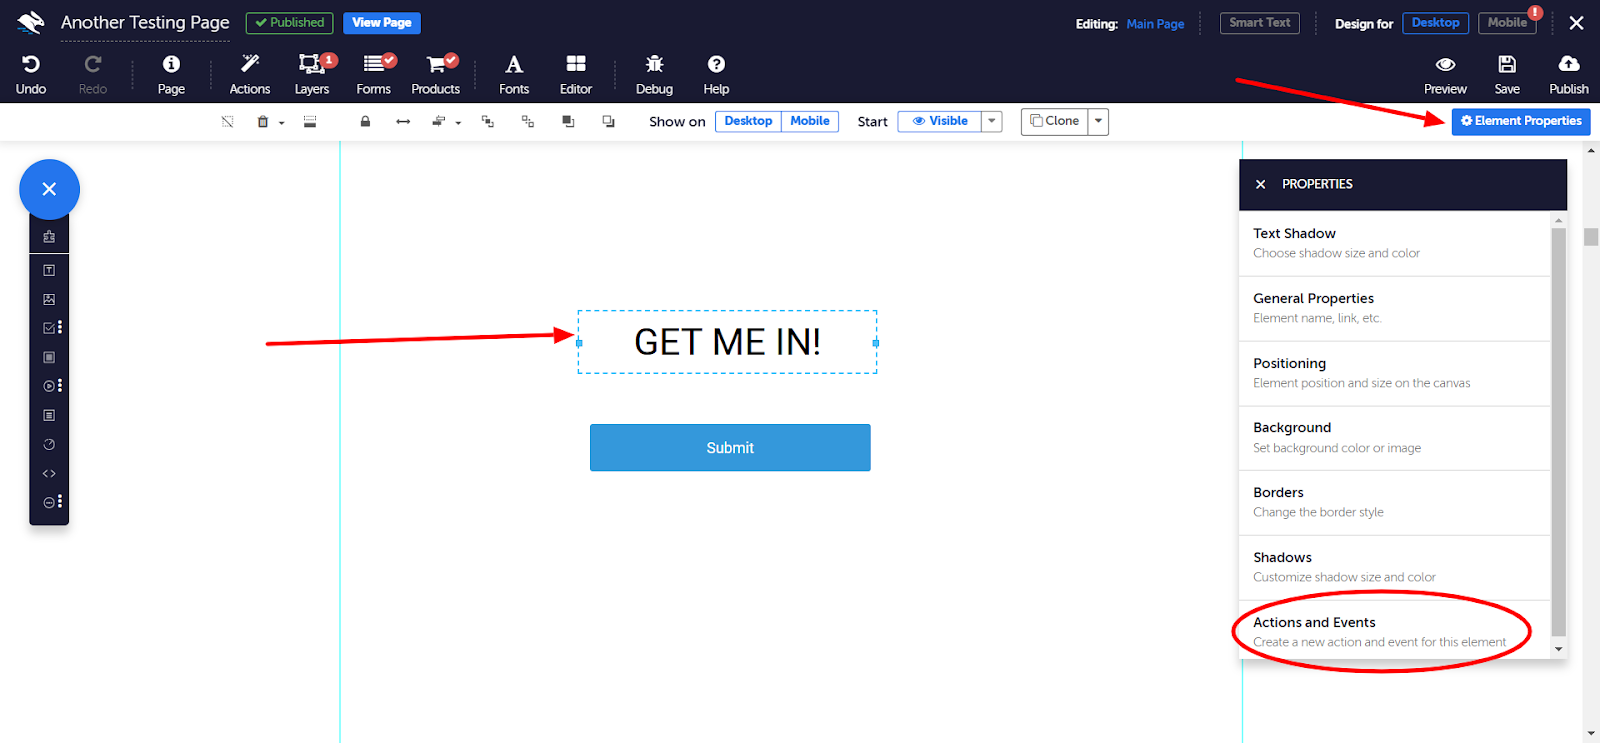
Click to deselect the pop-up layer, to enable editing on the main page. Click to select your CTA button, and go to Element Properties > Actions and Events. Click Add New Action, and configure the action as follows:
Event Type > On Click
Action > Show>Fade In
Target > (the name of your layer) and switch on Include Contained Elements
- Click Done.
- Click Save, then Preview.
Click on your CTA button, and the layer containing your opt-in form should appear. Click on your Close button, and the opt-in form should disappear.