Layers Overview
Video:
Article:
Adding layers to your Convertri pages means you can create multiple screens on your site like pop-ups or product overviews. Think of them as overlays, which you can show or hide on your page by configuring Actions.
To start, click the Layers button in the top toolbar. If you already have a layer, this will open up the Layers panel. Click Add New Layer.
Adding a blank layer
-
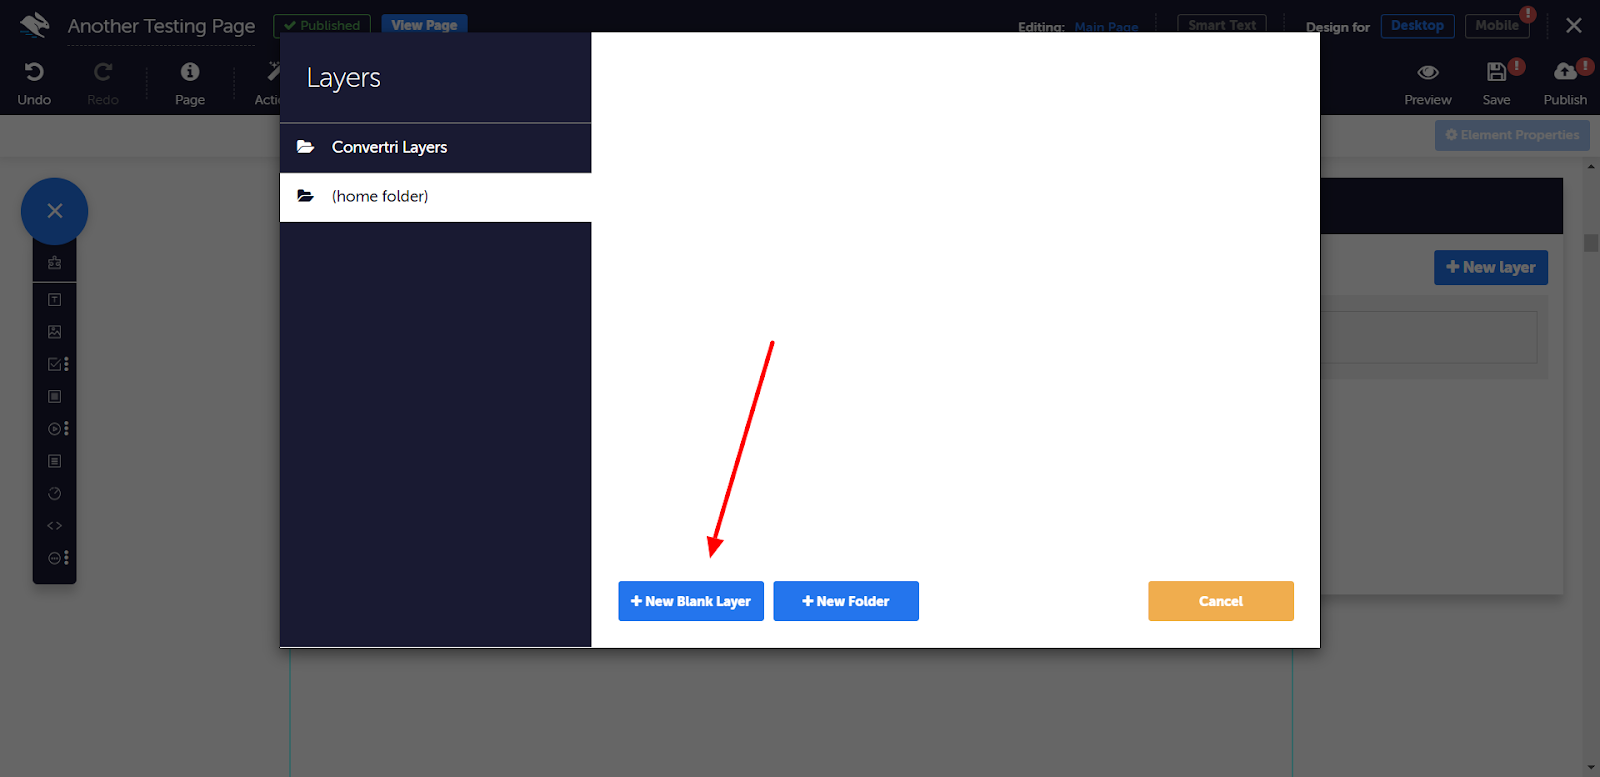
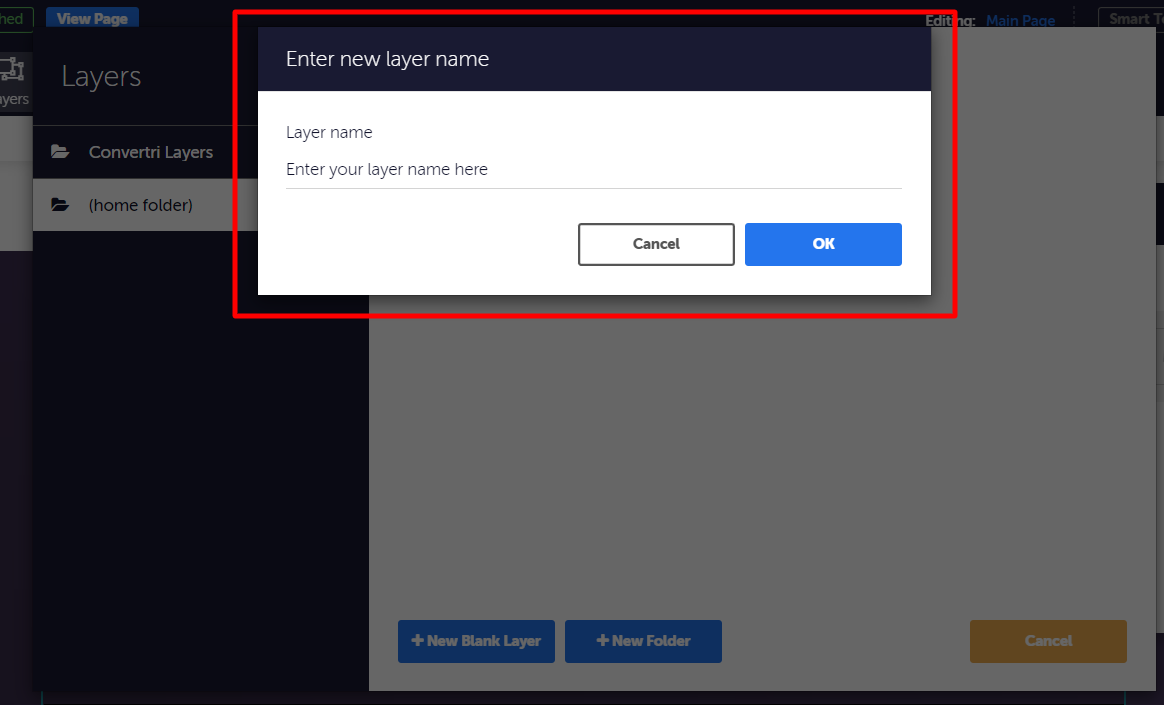
If you want to create a layer from scratch, click New Blank Layer, enter a name for your layer, and click OK.
- When a layer has been successfully added to the page, a red checkmark will appear on the Layers menu icon in the top toolbar.
Adding a layer from a template
- If you want to choose from pre-existing layers, click the Convertri Layers folder in the left-hand menu. Or, if you've saved a layer before, select the folder where you saved the layer you want to use. When you're done, click Add. Enter a name for your layer, and click OK.
- In the Layer dialogue, you'll be able to choose if your layer starts as visible or hidden and whether it is visible on mobile.
- When a layer has been successfully added to the page, a red checkmark will appear on the Layers button in the top toolbar.
The Layers Panel
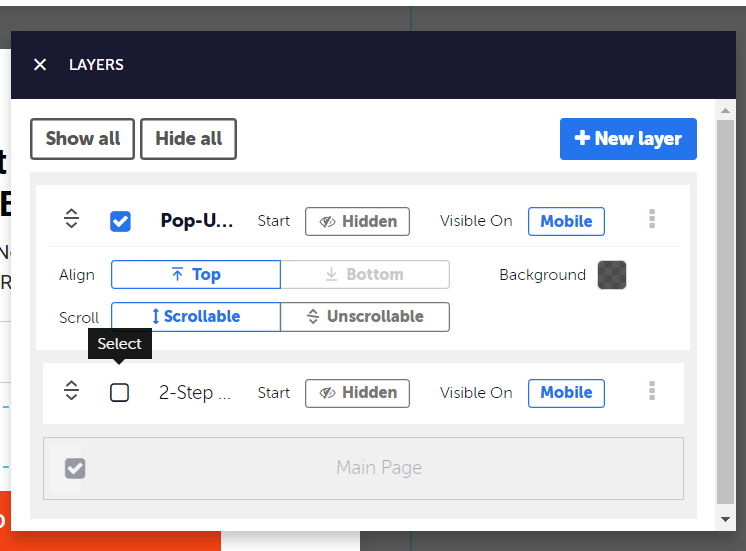
The Layers panel is where you’ll be able to configure options for each of your individual layers.
Select/Deselect - click the checkbox to select or deselect the layer. When the layer is selected it becomes active, and you can edit its contents. Your main page will still show through below, but you will be unable to edit it until you deselect the layer. You can easily see which layer you currently have selected by looking at the top of the page. If no layer is selected, this will say Editing: Main Page. If a layer is currently selected, it will say Editing: and then the name of your layer.
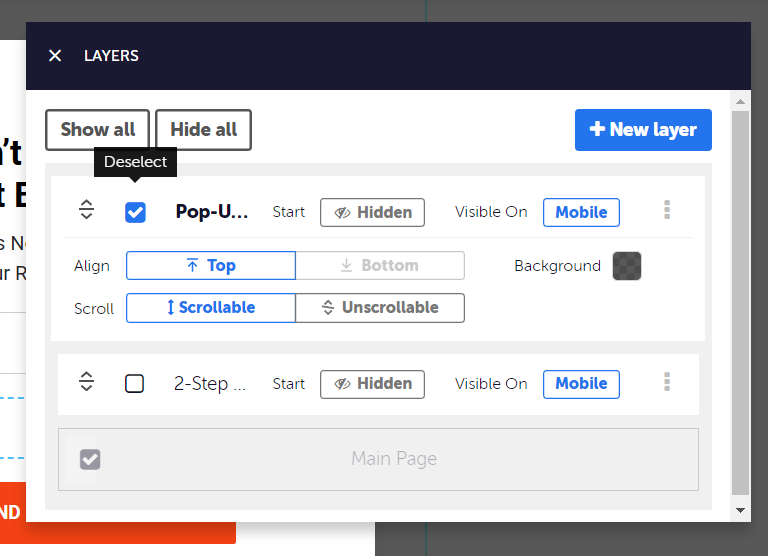

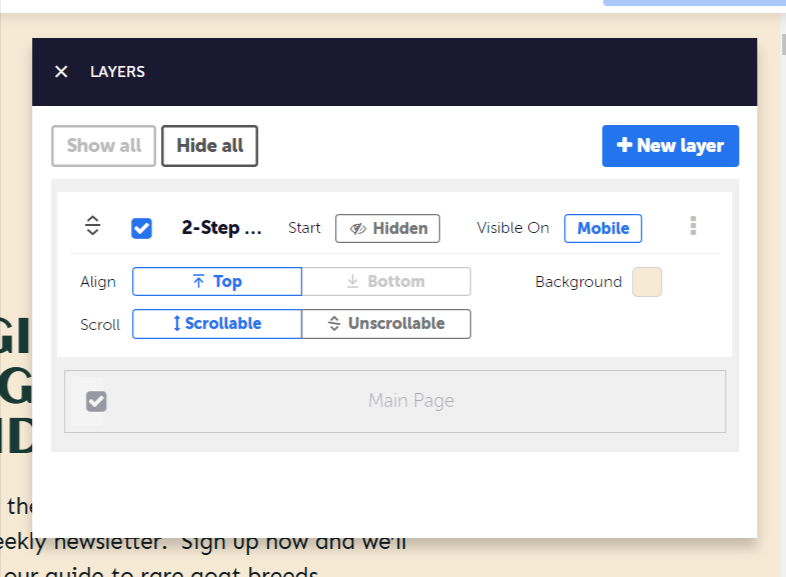
Visible/Hidden - toggle this option to choose if a layer is visible or hidden on page load. If it’s hidden and you want to make it appear later, you can do so by applying an Action to this layer. Find out how to do that here.
Visible on Mobile - click to toggle whether the layer will display on mobile devices, or only on desktop.
Align - click to "stick" a layer to the top or bottom of the screen (in general: use relative to the bottom for things like sticky footers that you want permanently attached to the bottom of your viewer’s screen, and relative to the top for everything else). Note that layers relative to the bottom of the screen can not be scrollable.
Scrollable/Unscrollable - click the checkbox to make the layer able to be scrolled, or fixed. (This is especially important on mobile pages, where the layer maybe taller than the screen.)
Background - choose a background color for your layer.
Drag to Reorder - click and move this handle if you have multiple layers, and want to change which one displays on top.
Three Button Menu - click to display options:
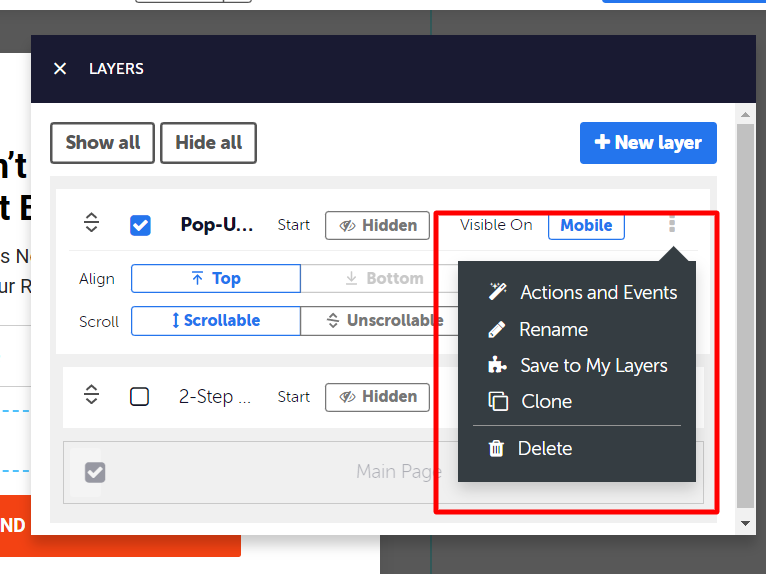
Actions and Events - set layer-level actions and events
Rename - give your layer a different name.
Save to My Layers - saves the layer to your Layers folder so you don't have to create it from scratch on a different page.
Clone - create a duplicate of this layer.
Delete - delete your layer.
Editing Layers
Layers can contain the same elements as your main page. For example, you can create a pop-up containing a countdown timer for added urgency, or ask people to opt-in to your email newsletter with a form. The possibilities are endless!
Actions
By adding actions and events to your layer, you can configure elements on your layer to show or hide when triggered by user behaviour, or after an elapsed time. Find out how by clicking here.