How to Set Default Text Styles
Video:
Article:
Configuring default text styles can save you time when it comes to designing your page. You can do it either at Page Level, at Funnel Level, or at Account Level.
Page Level
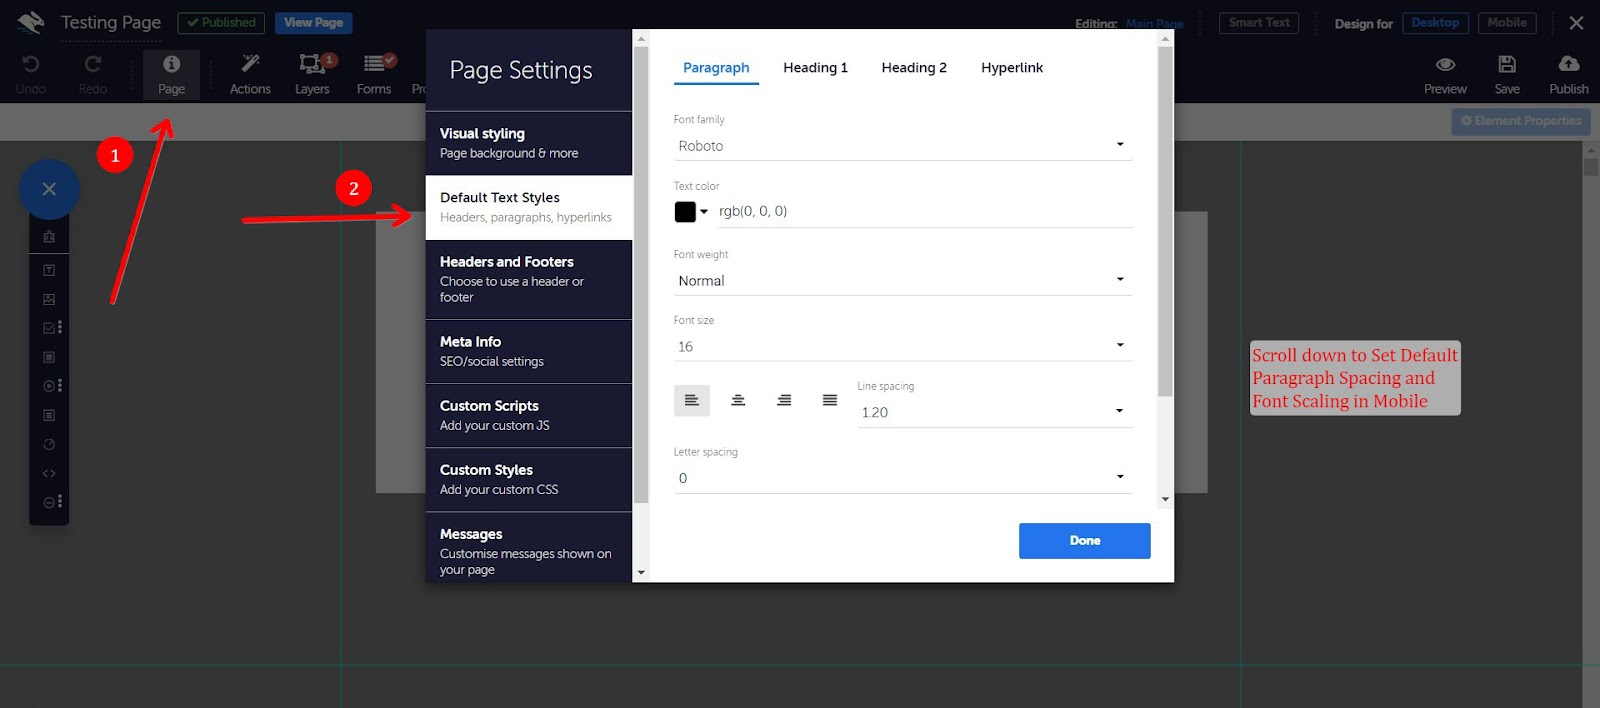
- In the Page Builder, click on Page in the top toolbar, then click Default Text Styles.
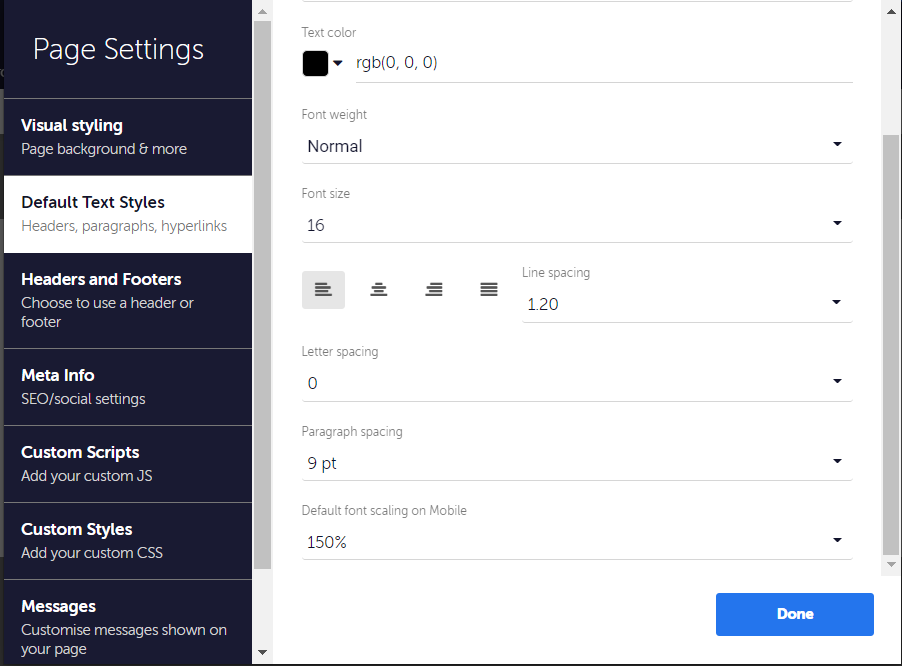
- You’ll see tabs labelled Paragraph, Heading 1, Heading 2, and Hyperlink. Click on each of these to choose the font, formatting and colour of the default text for each of these styles.
- Click Done.
Any existing default text on your page will update automatically.
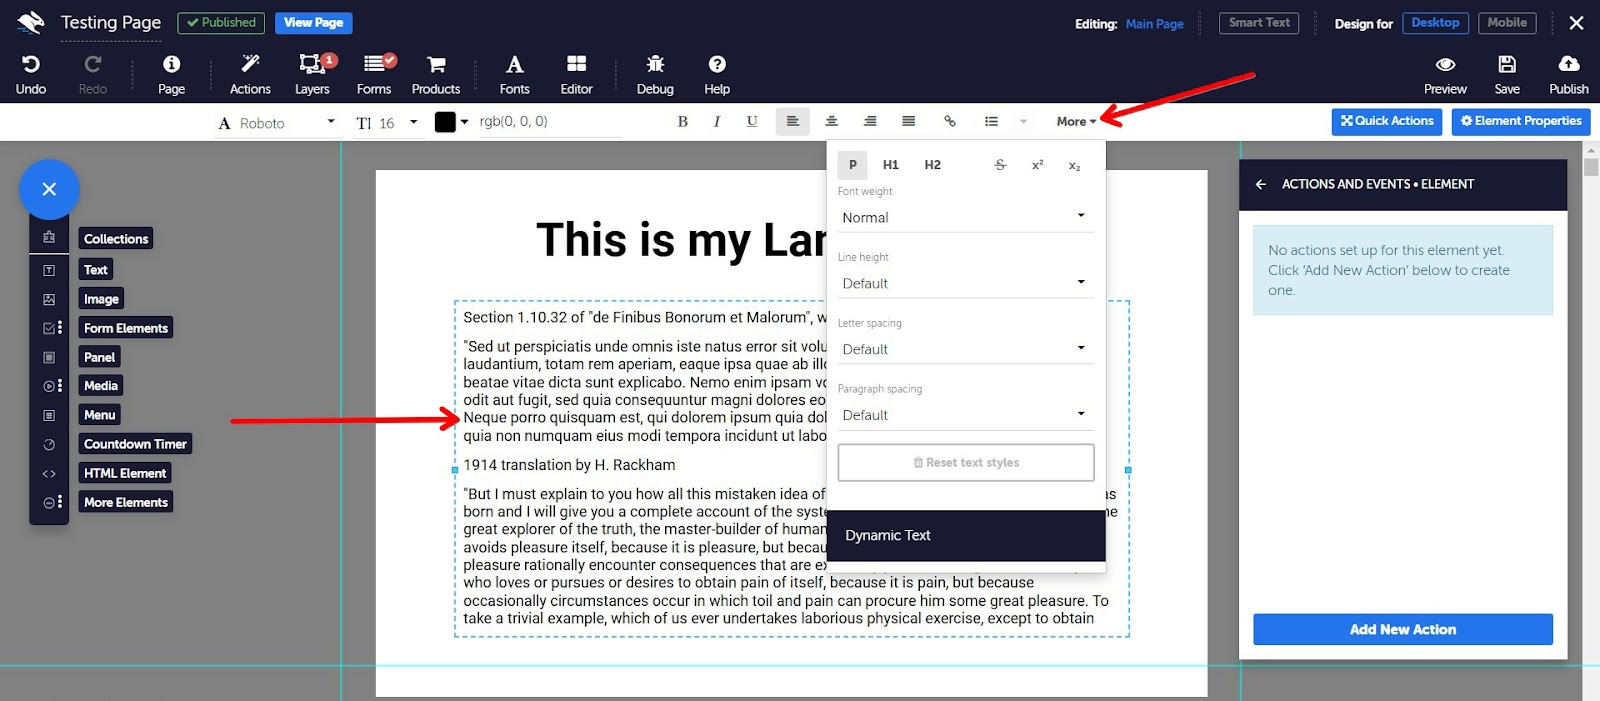
To add a text style to text, click on the text element, then use the ‘More’ dropdown in the Text Element Quick Actions Toolbar to view the options.
How To Reset Text styles:
To reset your text styles, click on the More button in the text toolbar, select the text you want to reset and click on the Reset text styles button.
.
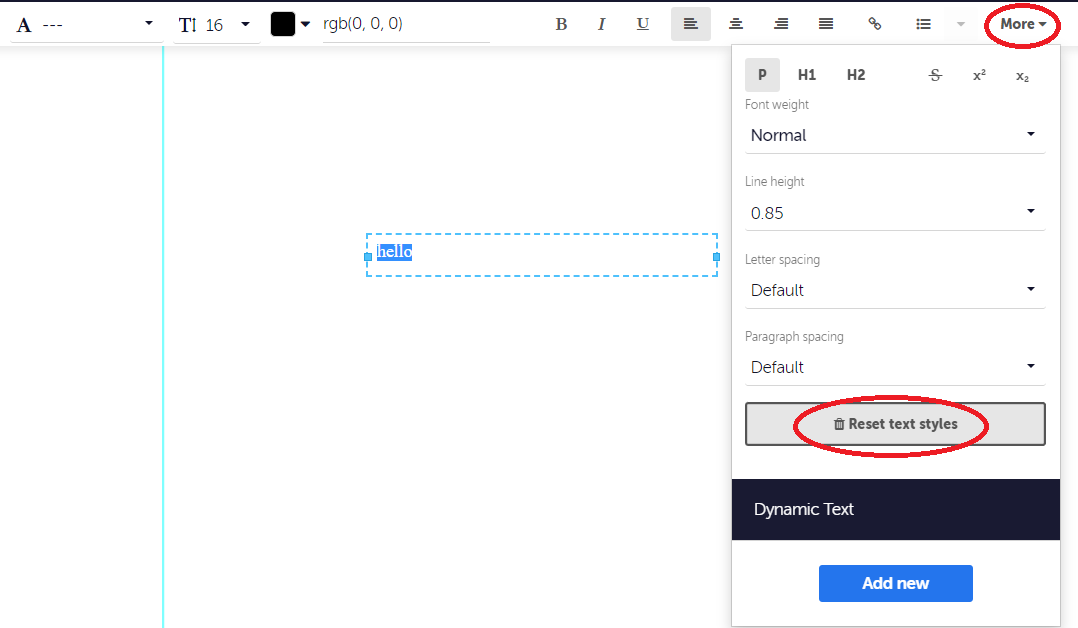
Clicking the button will reset all styles for the selected text to the default text style settings. If all settings are already default for the text or no text is selected, the button will stay greyed out.
For details on editing the text in the mobile editor, click here.
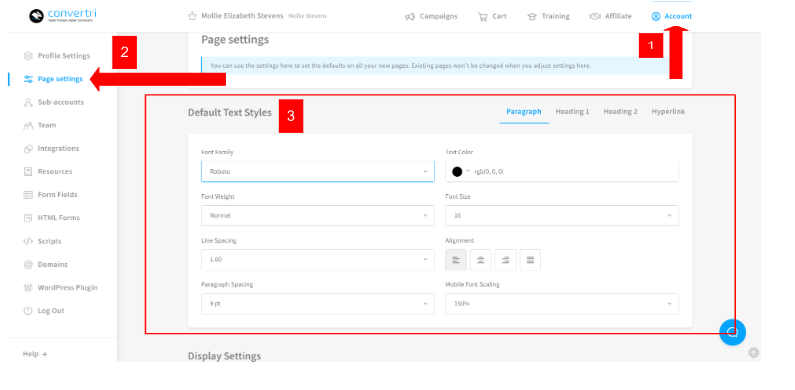
Account Level
These settings will allow you to set your default text styles once for the whole account, rather than having to do it each time you create a new page
To do so:
Click ‘Account’ on the Top Menu. On the account dashboard, click ‘Page settings’ in the left-side menu.
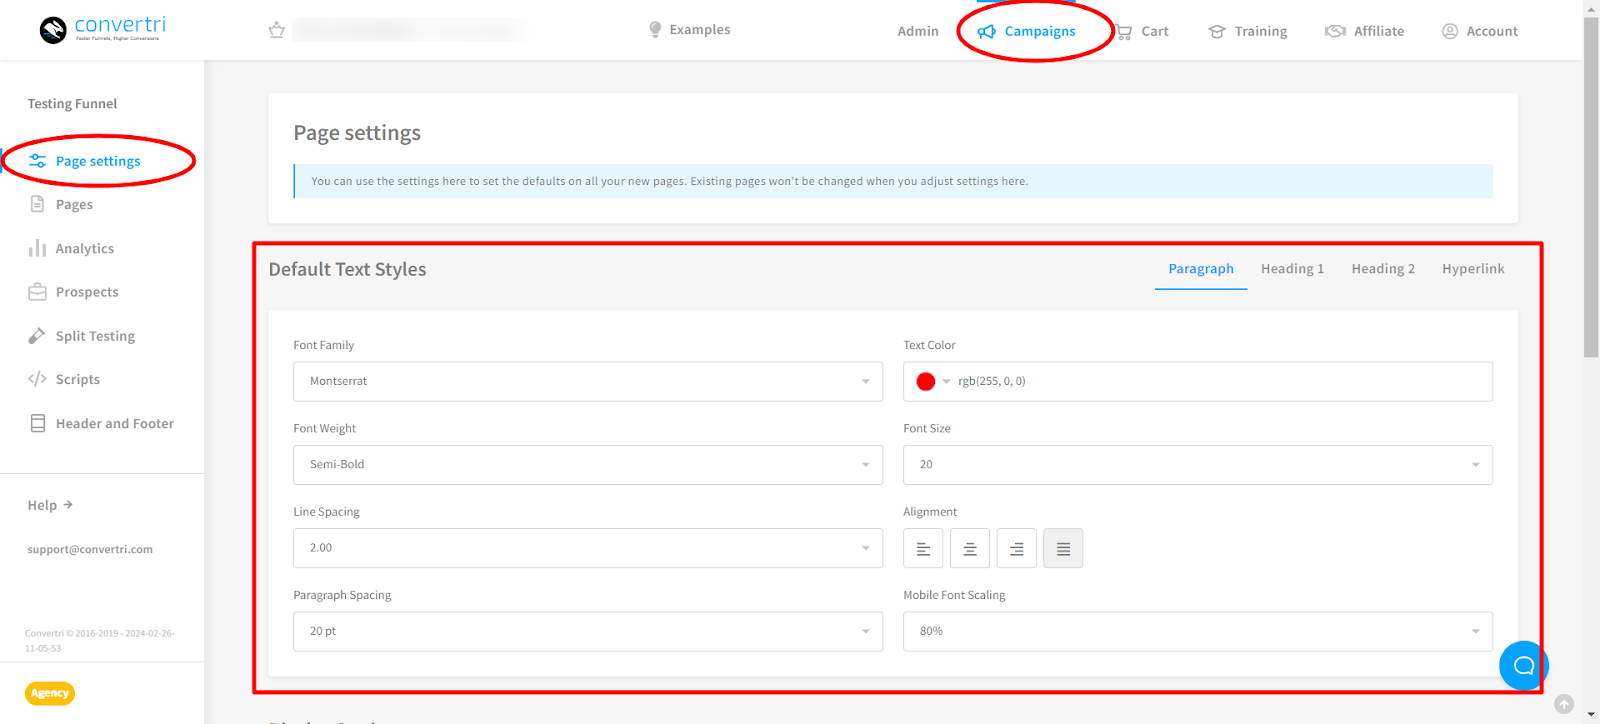
Funnel Level
In this level you will be able to set the page settings - Paragraph, Heading 1, Heading 2 and Hyperlink, once for each specific funnel, eliminating the need to repeat the process each time you create a new page within the funnel. It also allows you to customize different defaults for each funnel you create.
To begin, On your Campaign dashboard select any funnel. Inside that funnel click on the ‘Page Settings’ on the left side menu.
NOTE: Editing the Page Settings Default Text Styles at either in Account or Funnel Level only affects new pages. Existing pages won’t be changed when you adjust settings on these levels.