How to Edit A Button’s Appearance
Video:
Article:
We have a range of fully adjustable pre-set button styles that you can use to edit your button's style to look exactly the way you want.
Here’s how to change the button skin.
- First, select a button from the Form Elements drop down in the Elements Tray.
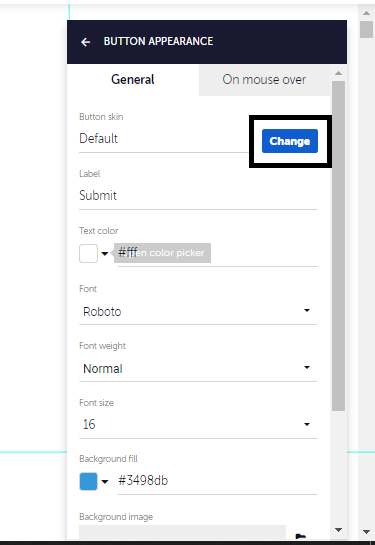
- In the Element Properties panel, go to Button Appearance.
- At the first setting option Button Skin, click Change.
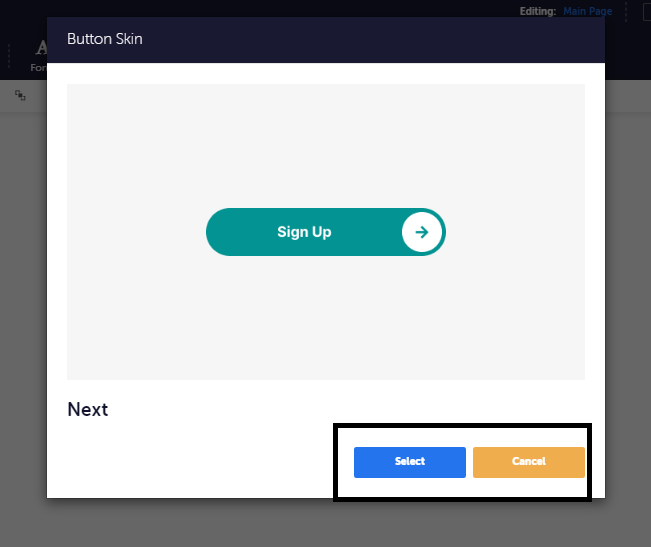
- Select from the 7 available button skins.

Once you’ve selected your preferred button skin, click Select.
If you want to change your selected skin, just click Cancel. You will be taken back to the Button Skin modal to choose a new skin.
Note: The button label will still be set to Submit so you will need to change that in the Label field.
To change the color of your chosen button skin simply follow these steps.
- In the Element Properties panel go to Button Appearance.
- Then go to Background Fill.
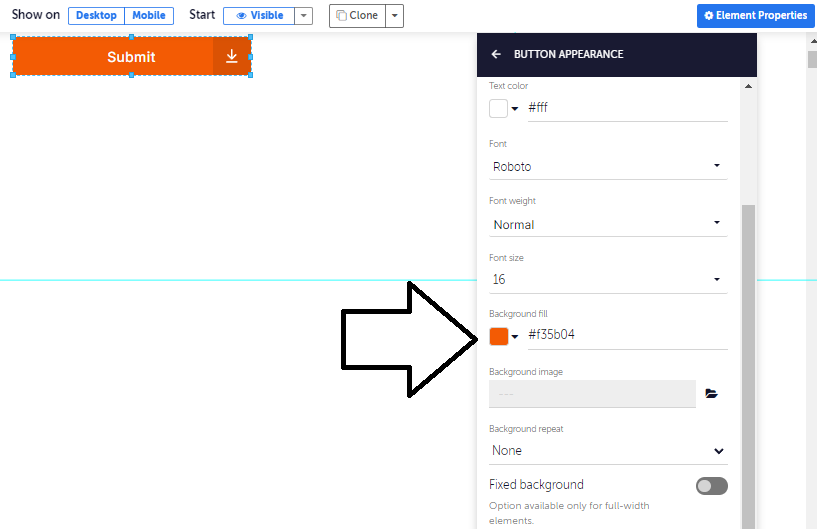
- Click the color icon to open the color picker. Here you can select your preferred button skin color. Once you’re done, just click Select.

To change the mouse over button skin color:
- In the Element Properties panel go to Button Appearance, then click on the On Mouse Over tab.
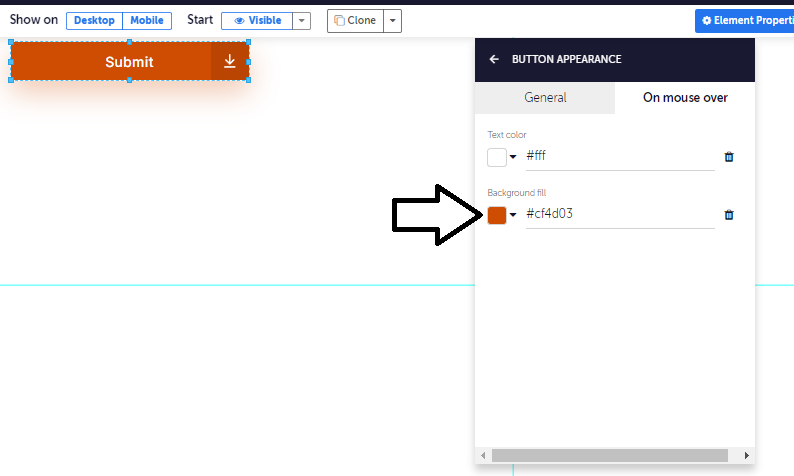
- Then go to Background Fill.
- Click the color icon to select your preferred On mouse over button skin color and then click Select.