How to Add Custom CSS
Video Tutorial:
Article:
Adding custom CSS gives you extra style functionality, letting you apply changes quickly and easily to elements on your page.
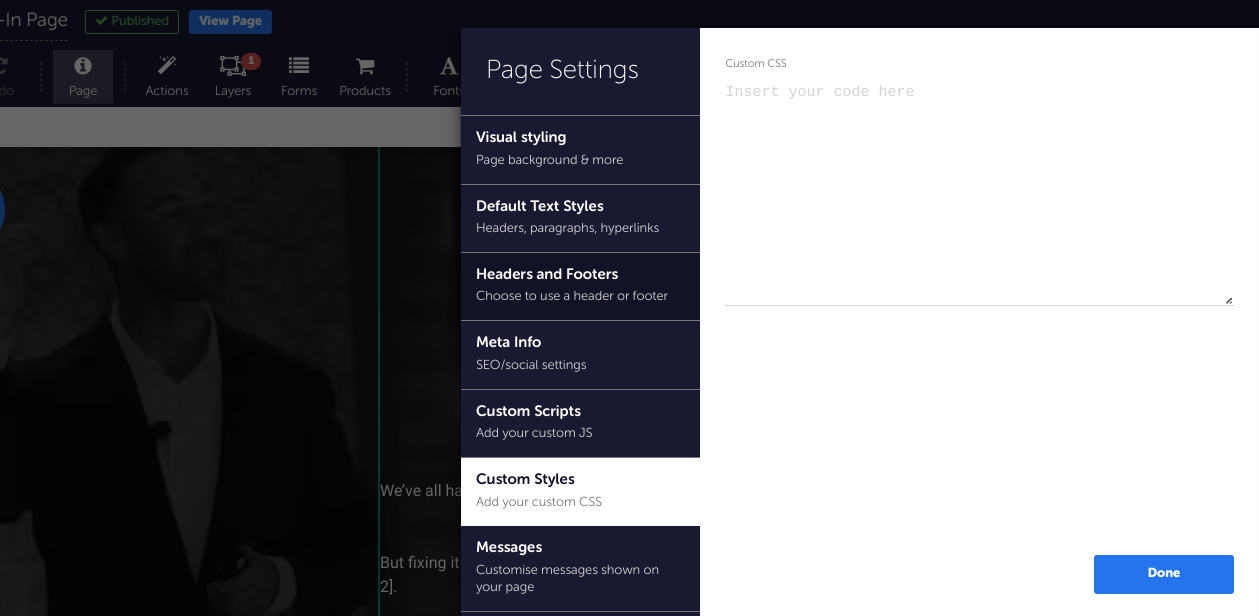
- In the Page Builder, click on Page in the top toolbar.
- Click Custom Styles in the left hand menu.
- Paste your custom CSS code, and click Done.
Your CSS will affect any HTML elements you have, as well as header and paragraph styles applied to your text elements.
IMPORTANT: you won’t see applied styles in the editor, because CSS only affects the published page. Save and publish your page now to test that it’s working.
You might want to apply CSS to multiple elements, but not the whole page, without writing the code out again and again. In this case, you can apply CSS classes to multiple elements and then enter the CSS class in your code, rather than each element one by one. To add an element to a CSS class:
- Go to the element you wish to add a class to and navigate to General Properties.
- One of the options further down in General Properties is CSS Classes and has a text space to add a CSS class.

- Creating a class is as easy as just adding the class name here. If you want an element to be part of multiple classes, separate them with a space.
- Once you have got all your classes set up, click on Page in the top toolbar.
- Click Custom Styles in the left hand menu. Here you can enter your CSS code as before and including the classes you created means you will only affect the elements labelled as part of those classes.