How to Set Up Different Lists for Products
[Note: This feature is available on the Standard (plus the Page Importer) / Pro / Agency / Scale and Maximize Plans. If you need this feature and you would like to upgrade to a different plan please contact us at support@convertri.com]
Video Tutorial:
Article:
You can customize which of your autoresponder lists your customers are added to at both the product and page level. This is useful if you want to segment your customers by the product they bought, as well as which page they submitted information to.
For example, combine this feature with product groups to send everyone who bought a red jacket to List A, and everyone who bought a blue jacket to List B.
You can customize independent autoresponder settings on both product and page level, even if you have two or more lists pointed at the same service (e.g. MailChimp). If you point both settings to the same list, the settings will be merged.
NOTE: there's no need to republish affected pages after making changes to product-level settings.
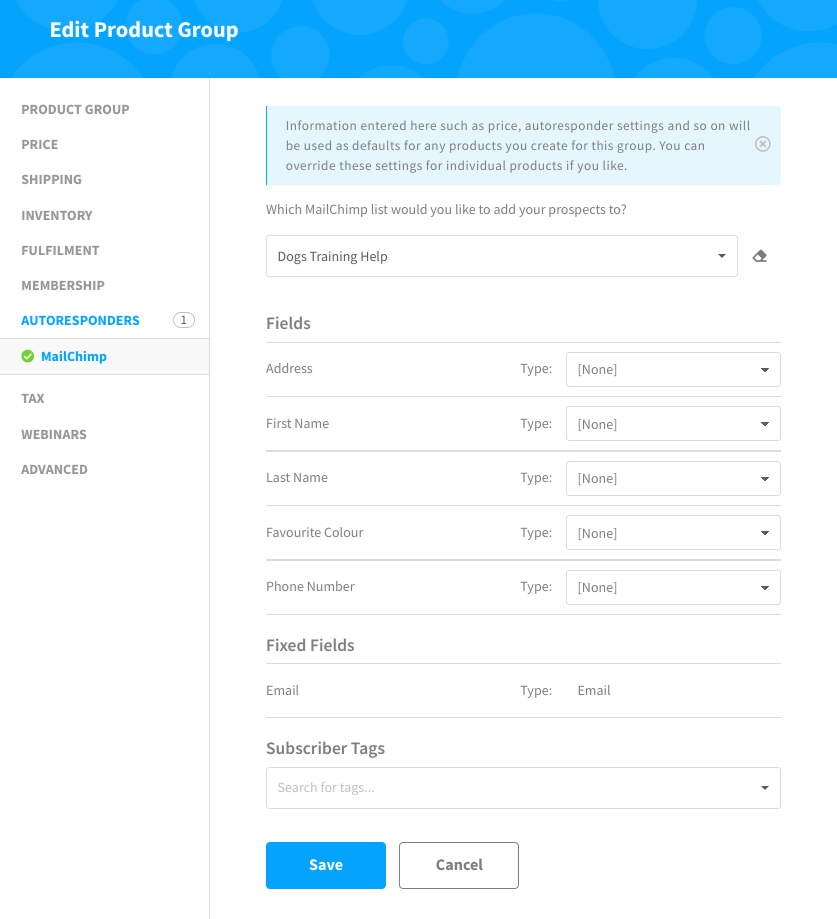
To customize autoresponder list settings at product level:
- In the Dashboard, click Cart.
- Click Edit next to the product you want to edit. Click Autoresponders in the left hand menu.
- Choose the autoresponder service you've already integrated, and then choose the list you want customers to be added to once they've purchased this product.
- Click Save.
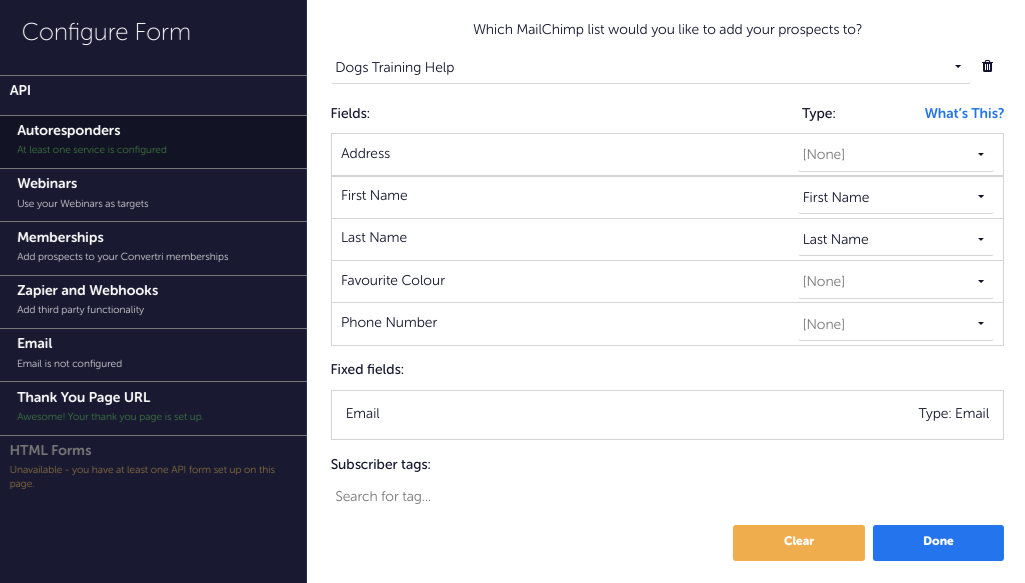
To customize autoresponder list settings at page level:
- In the Page Builder, click Forms in the top toolbar.
- Choose your autoresponder integration from the left hand menu, then choose the list you want customers to be added to once they've purchased from your page.
- Click Post-Submission Redirect from the left hand menu, and enter the URL you want customers to be taken to once they've completed their purchase.